P4 – InDesign Portfolio
Using InDesign, create a portfolio file that can easily be edited printed or e-mailed. You should have 10 images or more in this file.
- Set up your document to 8.5″x11″
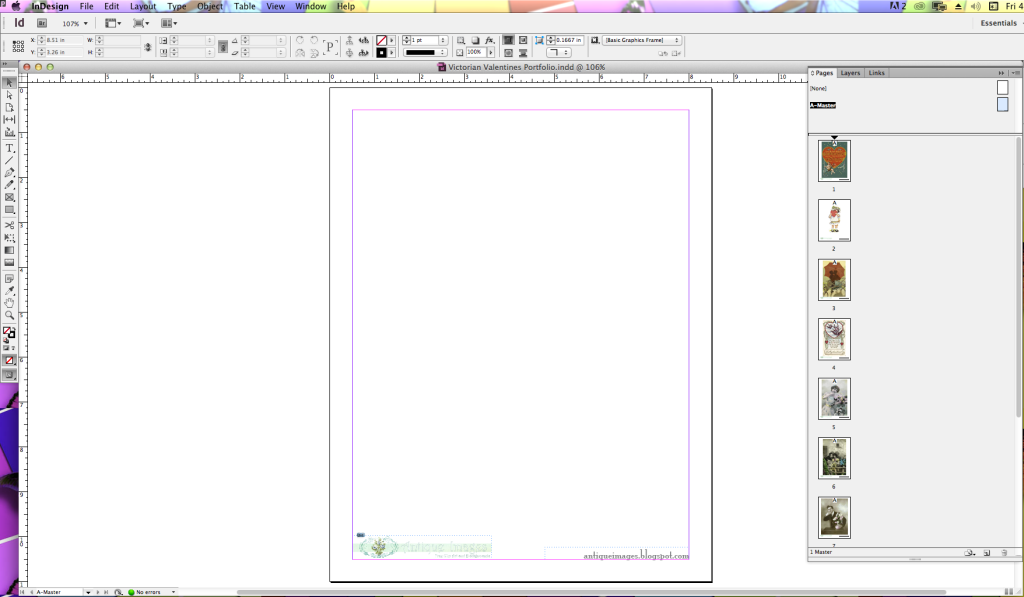
- Use the master pages to add your logo and contact info on each page. You should use a consistent, professional layout that includes your branding and your contact info.
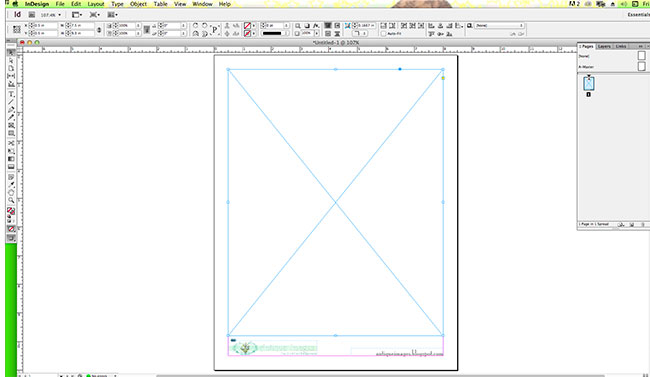
- On the first page create a square box to represent the largest image you can place on the page while keeping a nice margin and white space balance.
- Duplicate that page 10 times
- Add the images to each page (CMD/CTL+D) Then auto size and auto center in the box.
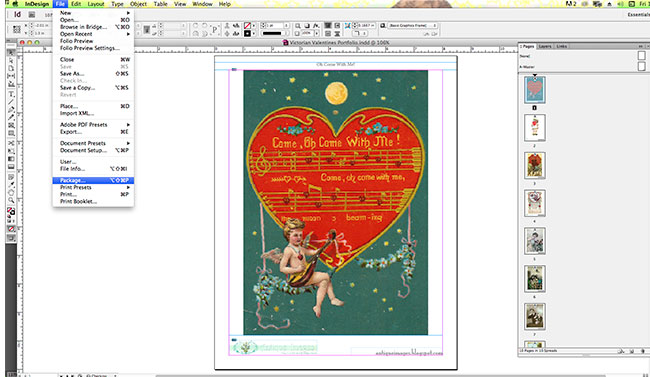
- PACKAGE your files
- EXPORT your PDF and JPGs (see below)
- Turn a digital PDF (high res/300 ppi) in on Dropbox.
- Turn in individual pages (10 or more) as 72 dpi RGB JPGS (high quality compression)
- Print all the pages and put them in your Binder (plastic sleeves are a nice touch)
——————————————————————————————
Rubrics
* Quality & Organization of CONTENT
* CREATIVITY
* Visual Composition & DESIGN
* Professional Practice
HOT TIPS
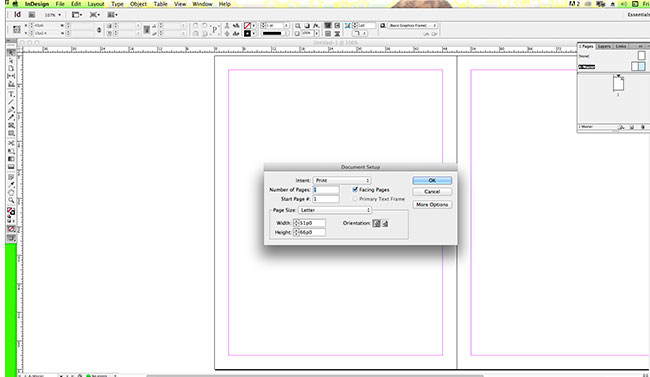
Turn OFF facing pages (you may also want to change your Units to Inches)
Design your A-Master Page to have your contact info and your logo
Create a box to represent the largest image you will have and duplicate that page 10 times. Then add the images so they are sized proportionally and centered in the box on each page.
Export as either JPGS or PDF
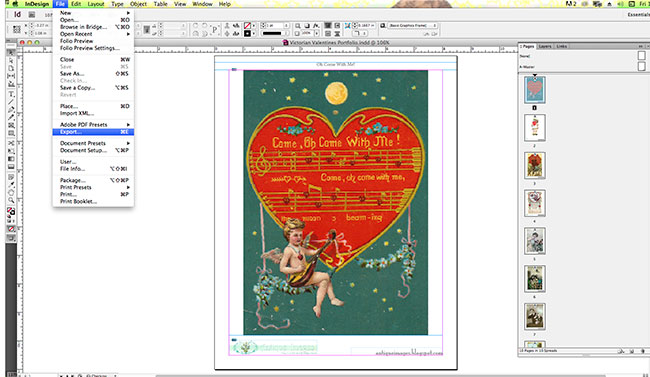
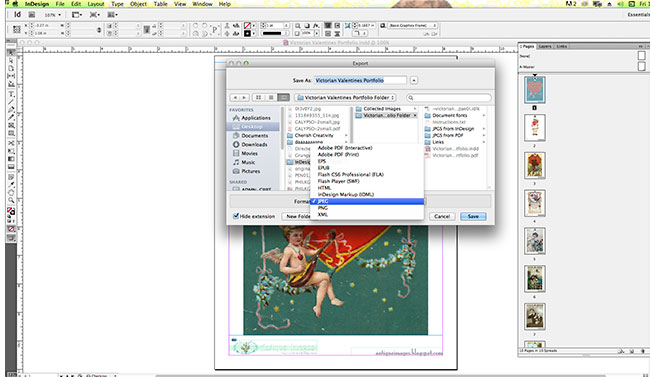
This is what my file looked like when I exported the PDF:Victorian Valentines Portfolio (You can ALSO export JPGS from the PDF using Adobe Acrobat)
At the end don’t forget to PACKAGE your files so that you have them all in one folder (Fonts, Links, Notes and InDesign File)