EX8 – Images for the Web

EX8 – Images for the Web
Capturing and preparing art for the web is essential for great looking images that load quickly. In this exercise you will perform digital image corrections in Photoshop.
1. Import a piece of your portfolio art and make it look good
Take a raw scan or photo of your art and make it look good for the web. Most times this will include basic color correction, sharpness and cropping modifications.
 2. Add a watermark, signature or copyright notice
This can be your logo, copyright notice with name or url. You will want to save a copy of the PSD file with the watermark on its own layer just in case you need to make future modifications. Count on the fact that Google Images (and similar search browsers) will separate your images from your site, so let the watermark help connect your image back to you.
Suggestion: Paste your logo/type from ILLUSTRATOR as a “Smart Object” in Photoshop
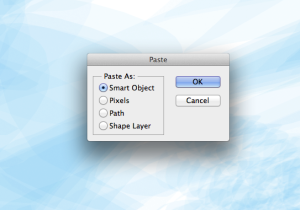
3. Optimize/save the image for the web (Suggested: high quality 70 .jpg)
This can either be a jpg or gif sized down to 72 dpi and optimized to be small and look good in Photoshop per the in class demo. 700 pixels x 700 pixels is a good size for most portfolio images.
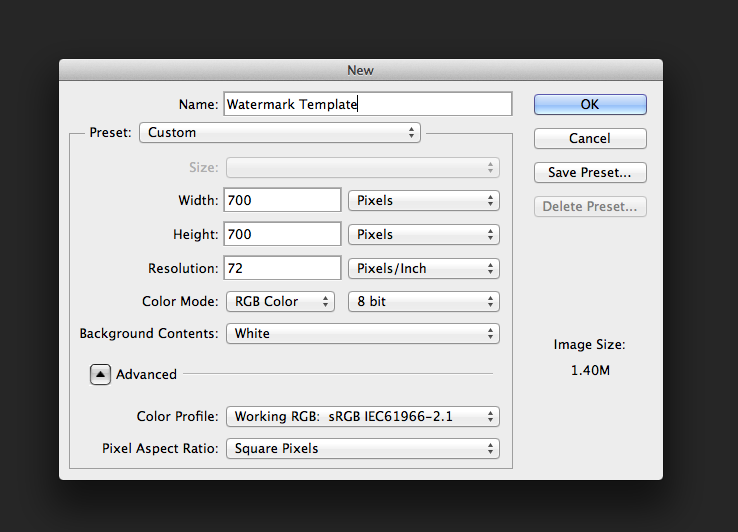
4. Submit two images to Dropbox – PLEASE put your name in the file name
__The “before” image – basically what your file looked like before you touched it in Photoshop.
__The “after” image – what your web ready image looks like now that it is ready for use on the web.
——————————————————————————————
Rubrics:
* Use of TECHNOLOGY & Techniques
* Guidelines, Deadlines & PROCESS


HINT: Your watermark should be something people can “google”/ search online (to find you on the front page) or type into their browser.
